Super Admin User Guide
Private Practice Platform | Super Admin Console | Local demo screenshots captured May 28, 2026
Scope: This compact reference guide covers the full Super Admin Console: clinics, plans, payments, income reporting, AI configuration, storage, audit log, team permissions, cron jobs, and safe impersonation return.
Daily Admin Workflow At A Glance
- Sign in as a super admin or a management user with the minimum permissions needed for the task.
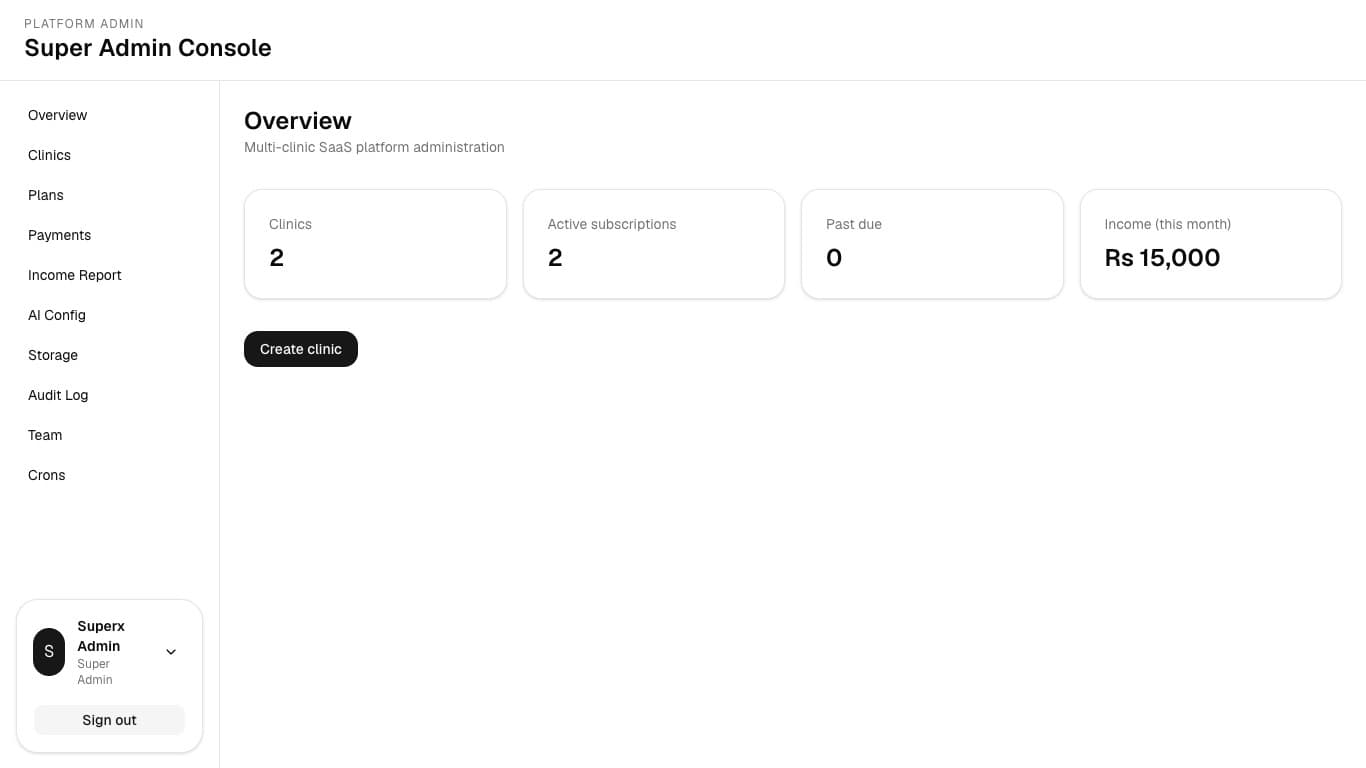
- Review Overview KPIs for active clinics, past-due subscriptions, and monthly income.
- Scan Clinics for subscription status changes, then open clinic detail before making billing, feature, or support changes.
- Record payments from the clinic detail page or the Payments page, then confirm the payment appears in the table and report totals.
- Review Audit Log filters for impersonation, plan, payment, team, and clinic administration activity.
- Keep AI and Storage credentials out of screenshots and shared documents; leave key fields blank unless rotating credentials.
- Run cron jobs in dry-run mode first, review results, and only then run the real job when the outcome is expected.
1. Sign In And Console Overview
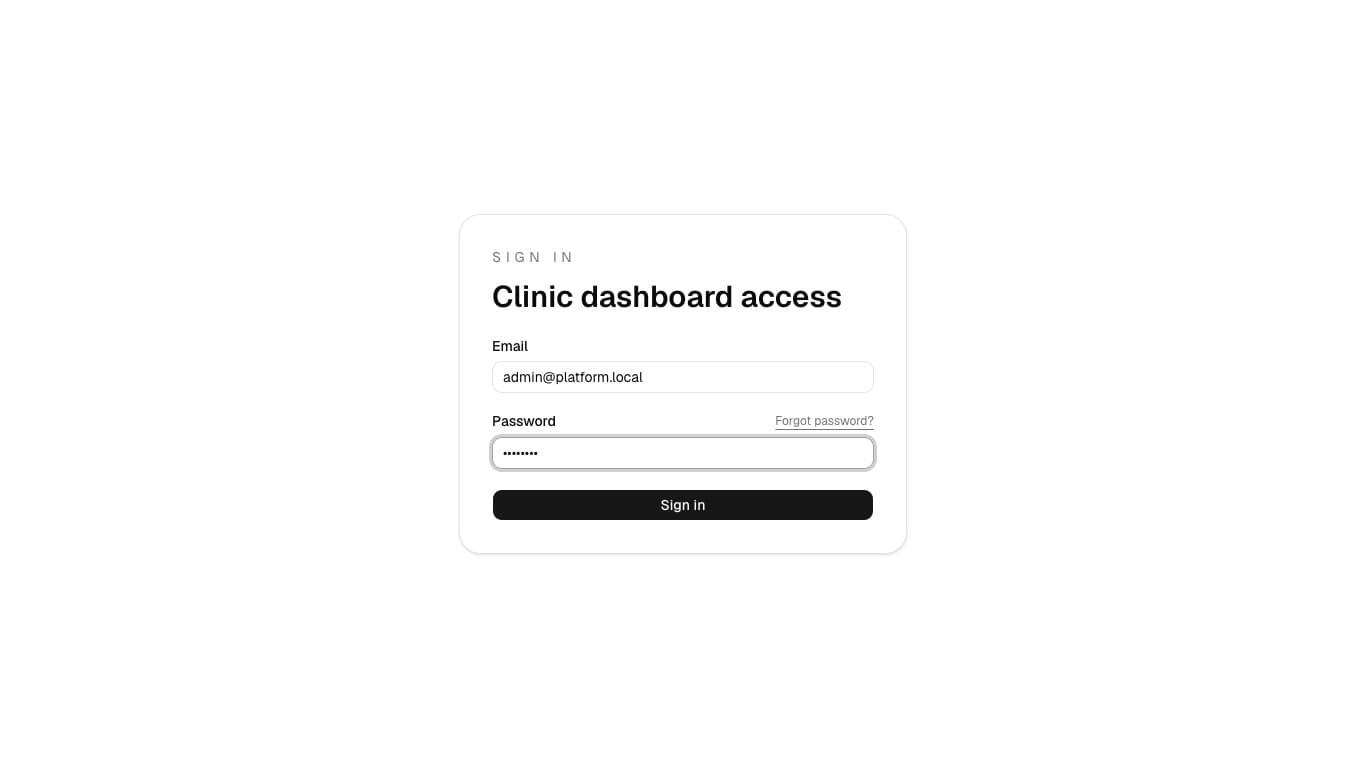
Action: Open the local login page, enter the seeded super-admin account, and sign in. Use admin@platform.local / password only for the local demo environment.
What to check:
- The left navigation should show Overview, Clinics, Plans, Payments, Income Report, AI Config, Storage, Audit Log, Team, and Crons.
- The account card should show the super-admin identity, not a clinic staff account.
- Overview KPI cards should load before you start admin work.
2. Clinics
2.1 View And Filter Clinics
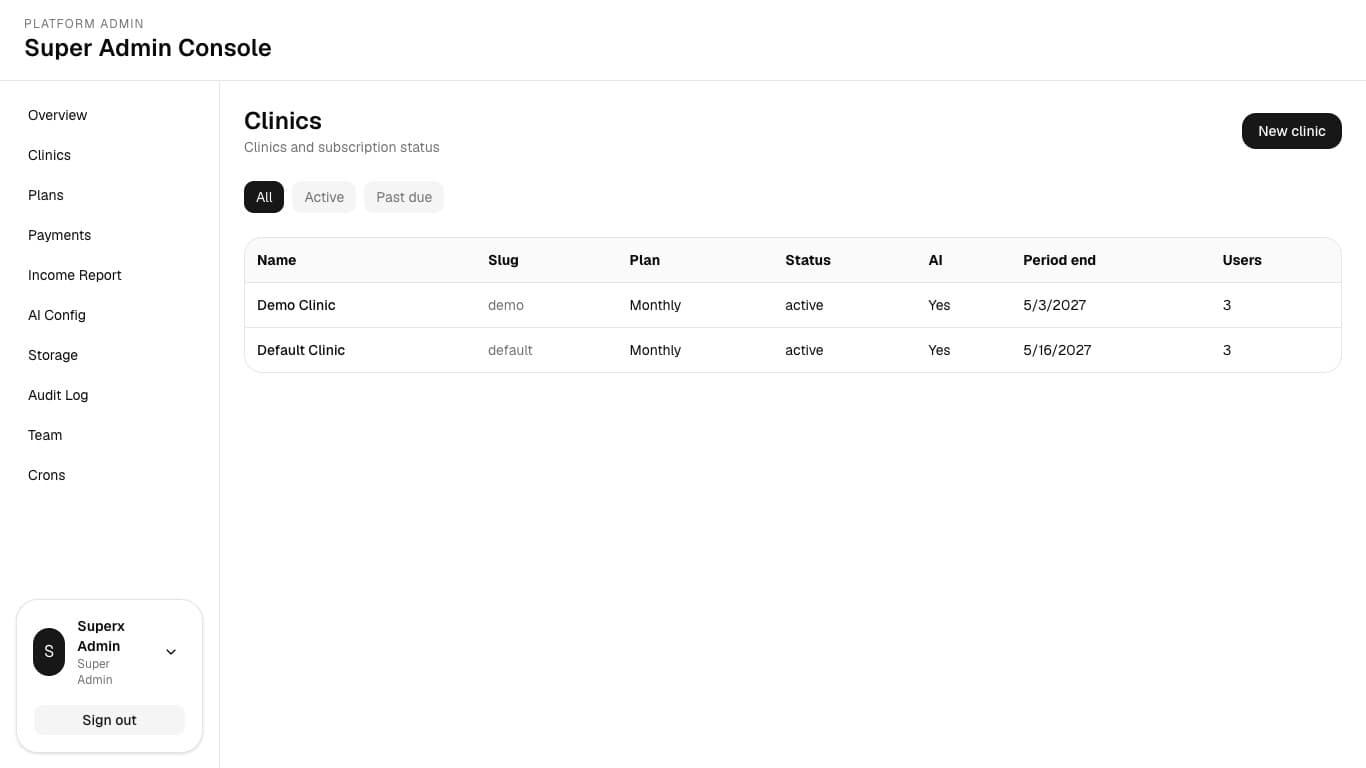
Action: Open Clinics from the sidebar. Use All, Active, and Past due filters to focus the table.
What to check:
- Confirm the clinic name, slug, assigned plan, subscription status, AI flag, period end, and user count.
- Click a clinic row to open its detail page.
2.2 Create A Clinic
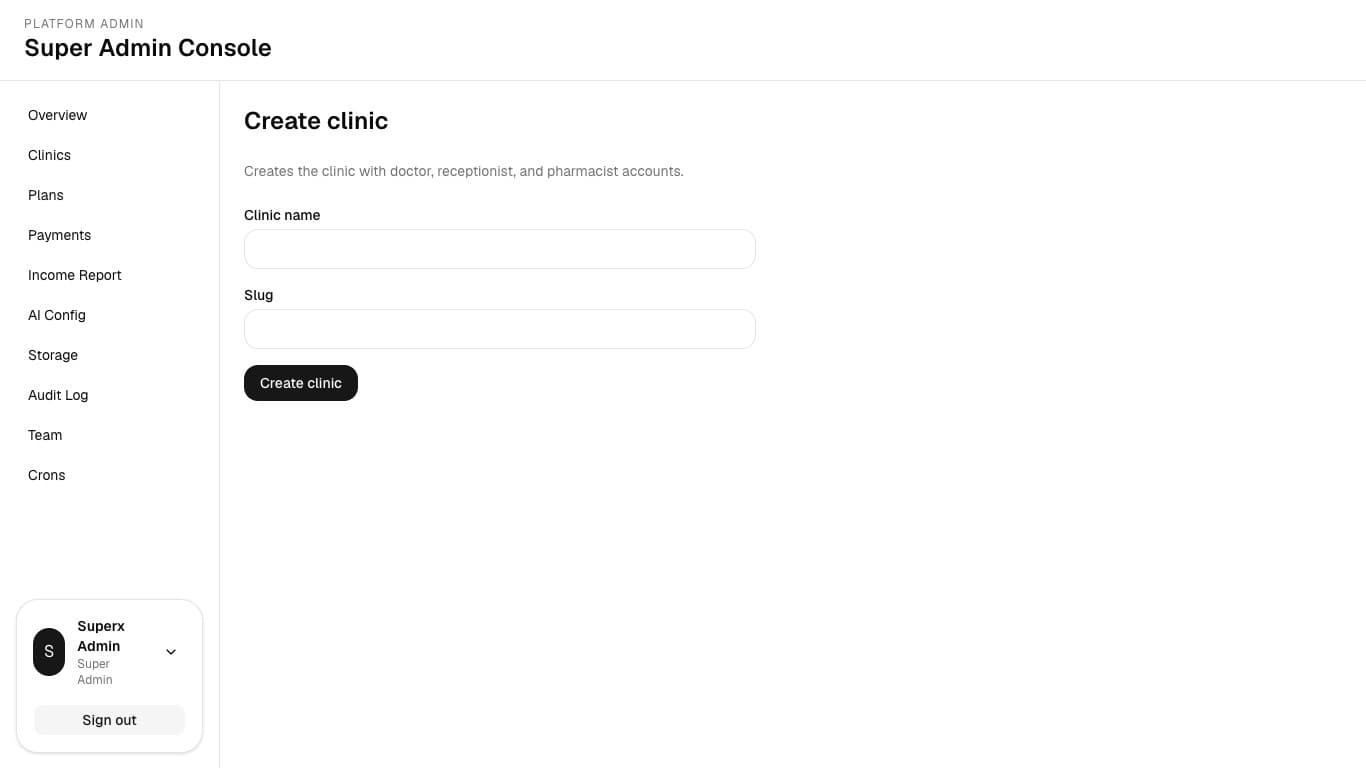
Action: Select New clinic, enter the clinic name and URL slug, then create only when the slug is final.
What to check:
- Use a human-readable clinic name and a stable slug.
- After creation, copy the generated temporary credentials through the approved secure channel.
- Open the new clinic detail page and check the subscription, feature flags, and initial staff users.
2.3 Open Clinic Detail And Update Subscription
Action: From the clinics table, open a clinic row. Use the Subscription panel to update the plan, status, period end, and internal notes.
What to check:
- Confirm you are on the intended clinic before saving.
- Check that plan and status match the billing agreement.
- Use Notes for internal billing context, not patient information.
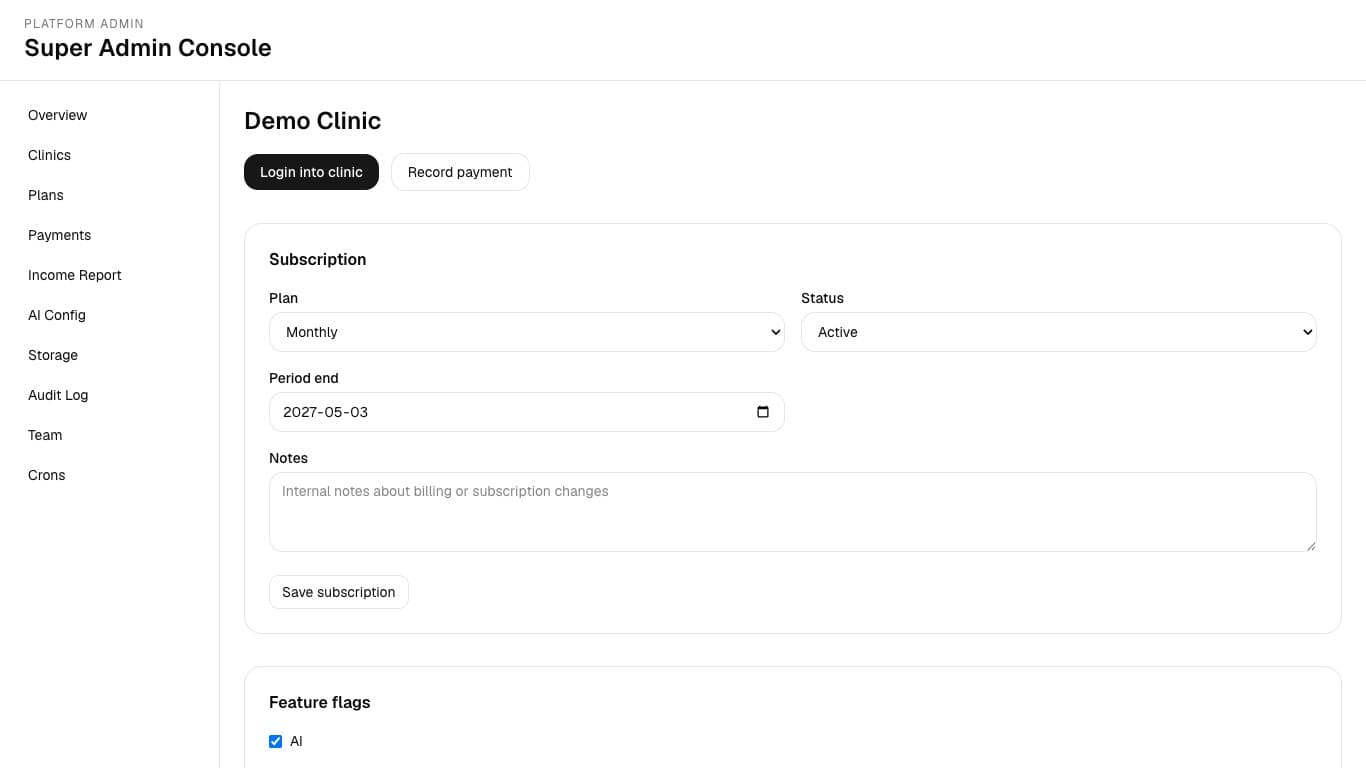
2.4 Toggle Feature Flags
Action: Use the Feature flags panel to enable or disable AI, Pharmacy, Telemedicine, Bulk messaging, note revision support, and AI key options for the clinic.
What to check:
- Confirm the feature matches the clinic plan or approved exception.
- Save features and refresh if the clinic UI needs to pick up the new access.
- For AI BYOK or per-user keys, confirm the clinic has a secure key-management process.
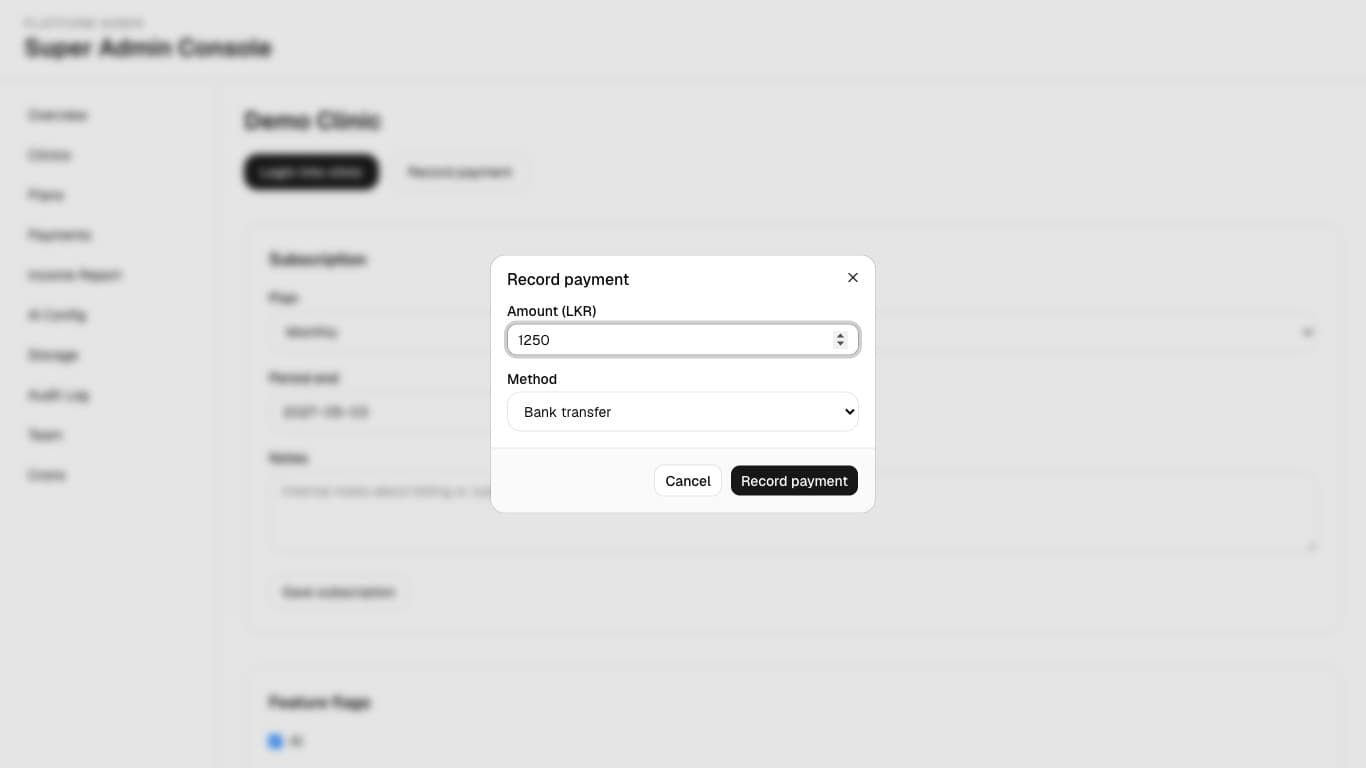
2.5 Record A Clinic Payment
Action: From the clinic detail page, choose Record payment, enter amount, method, paid date, reference, and optional notes.
What to check:
- Confirm amount and currency before recording.
- Use Reference for transaction IDs or receipt numbers.
- After saving, verify the payment in Payments and Income Report.
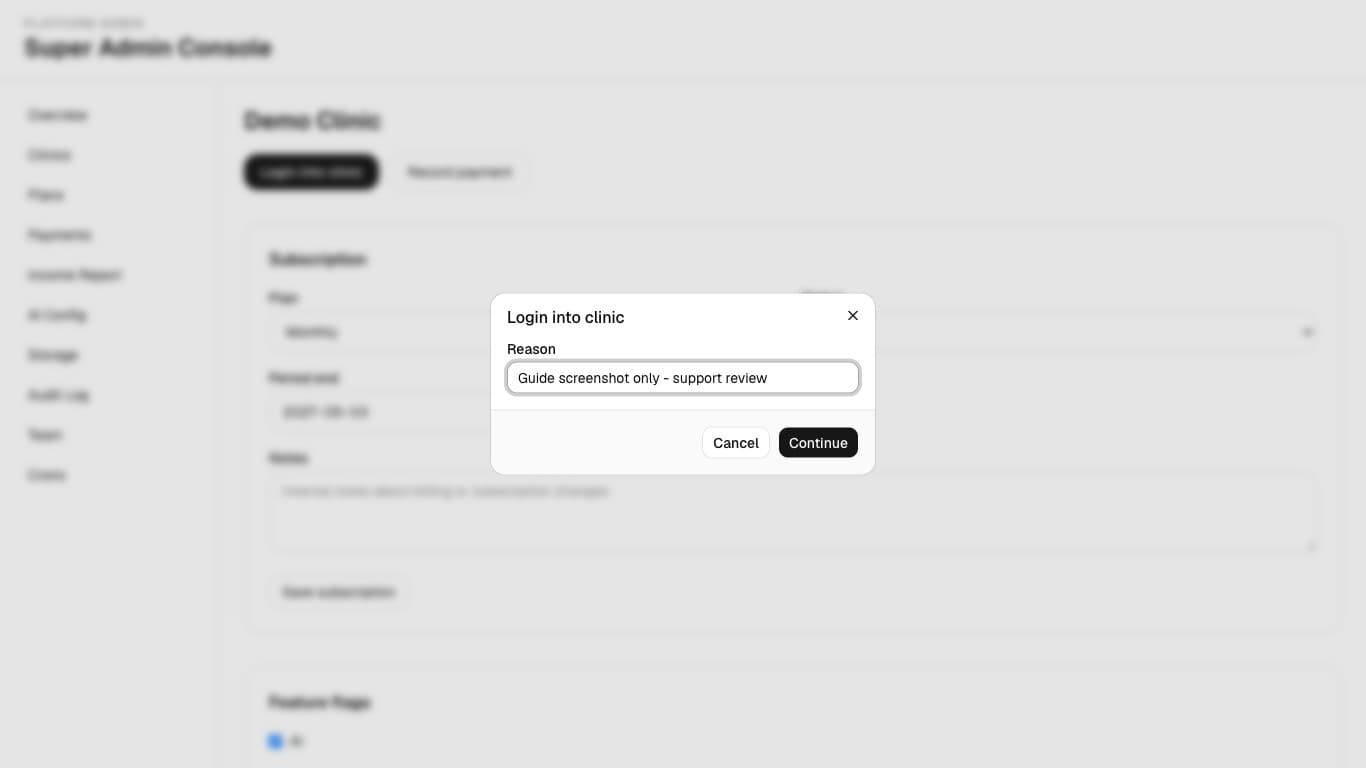
2.6 Login Into A Clinic For Support
Action: Choose Login into clinic only for support or administrative troubleshooting, enter a clear reason, and continue only when authorized.
What to check:
- The reason should explain the support ticket or admin task.
- The audit log should show both impersonation start and end events.
- Do the minimum support work needed, then exit impersonation immediately.
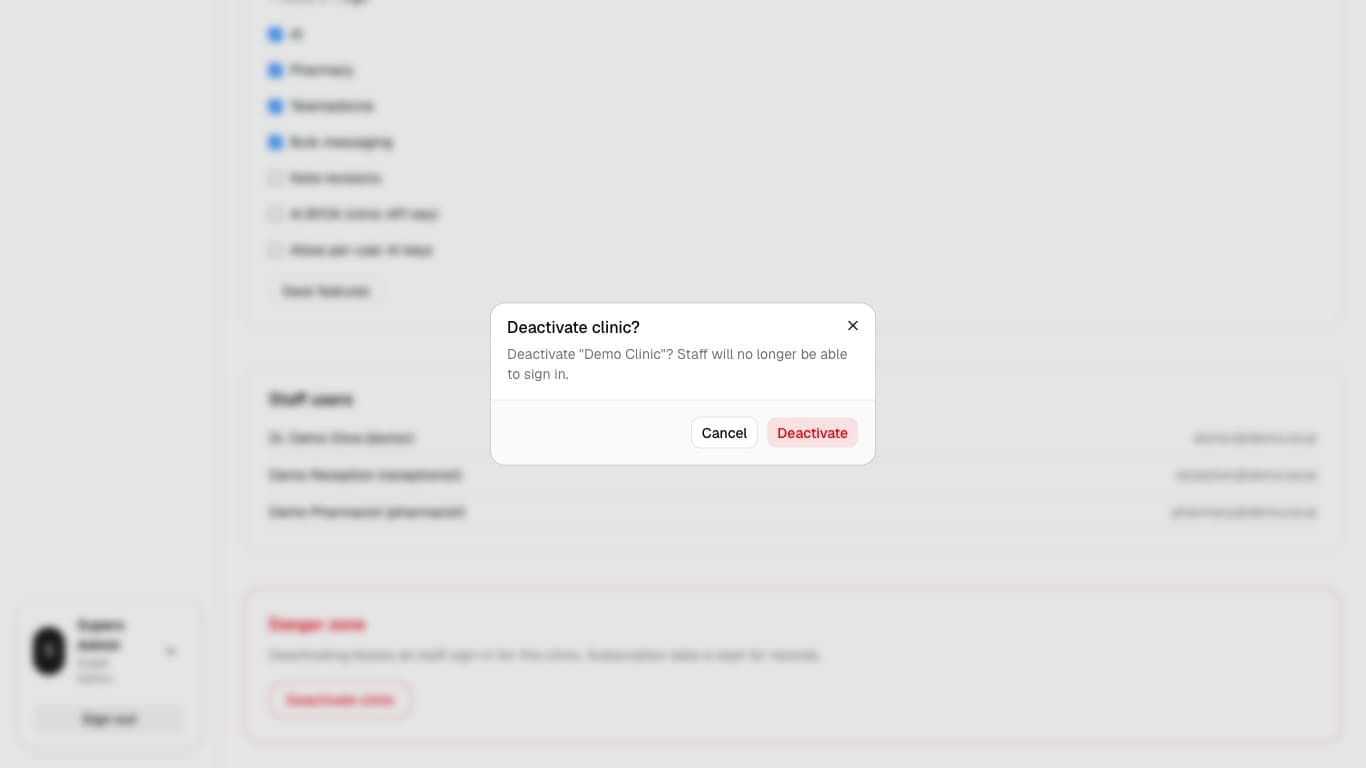
2.7 Deactivate A Clinic
Action: Use the Danger zone only when a clinic should no longer access the system. Review the confirmation dialog before the final action.
What to check:
- Deactivation blocks staff sign-in.
- Subscription and historical records are preserved where the app keeps them for reporting and audit.
- Confirm billing, support, and operations teams have been notified before deactivation.
3. Plans
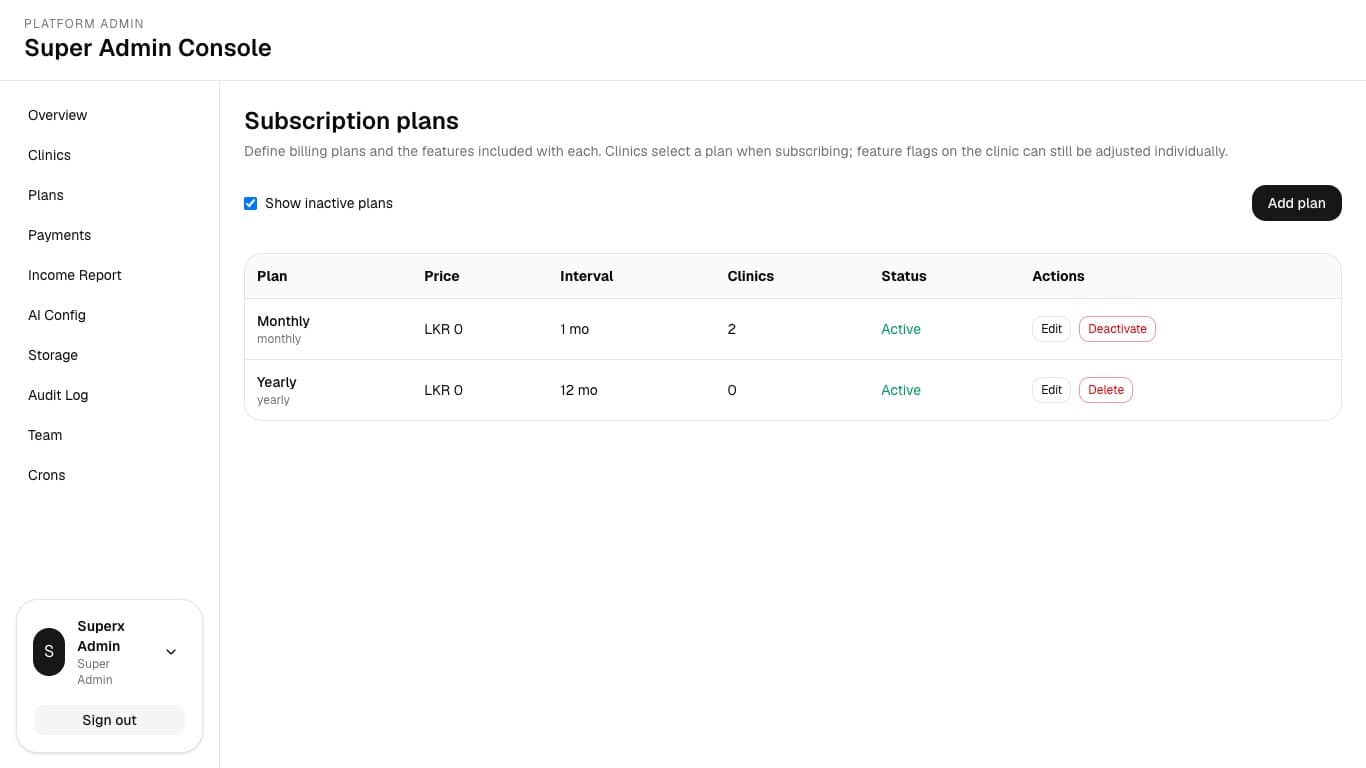
3.1 View Plans
Action: Open Plans to review active and inactive billing plans, prices, intervals, subscription counts, and available actions.
What to check:
- Use Show inactive plans when checking legacy or retired subscriptions.
- Plans with active subscriptions can be deactivated rather than deleted.
- Plans without subscriptions may be deleted if removal is intentional.
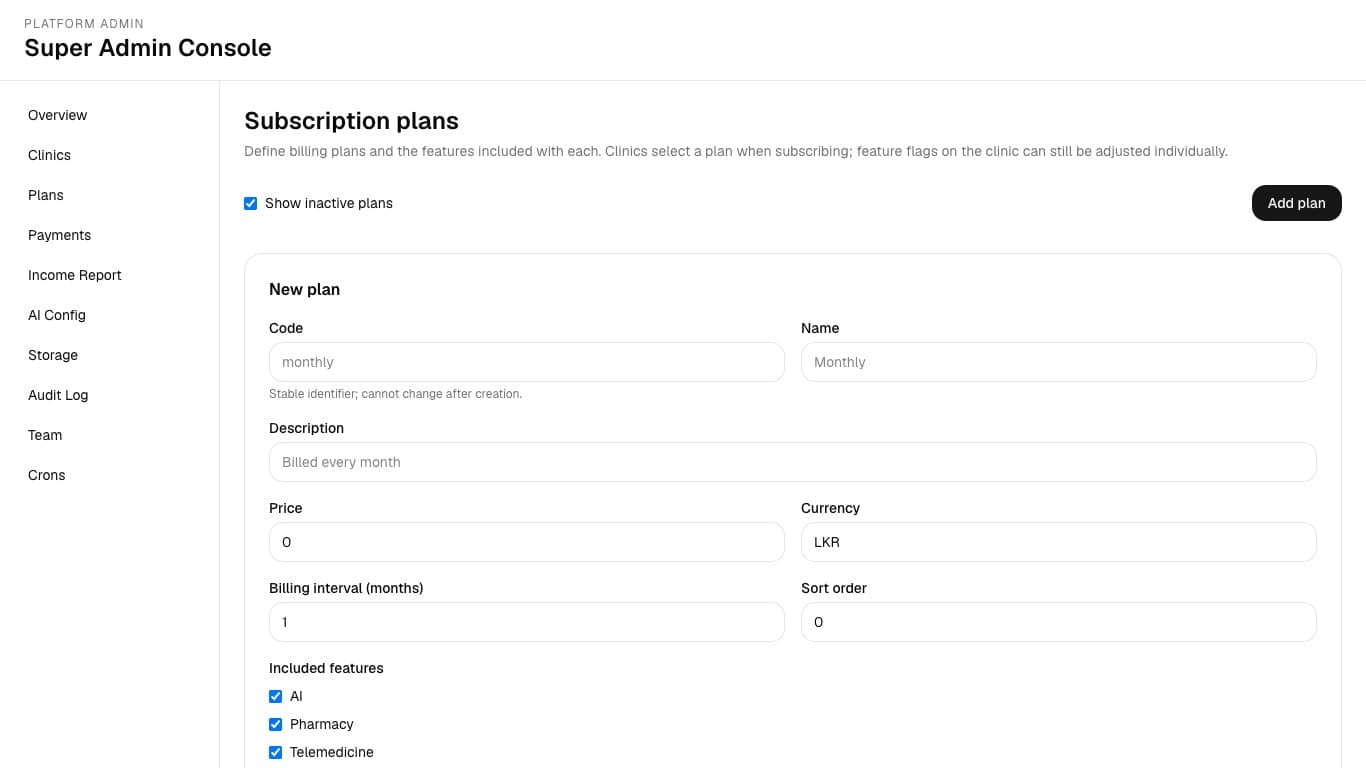
3.2 Add Or Edit A Plan
Action: Choose Add plan or Edit. Set code, name, description, price, currency, billing interval, sort order, included features, and active status.
What to check:
- The code is a stable identifier and cannot change after creation.
- Active plans are available for new subscriptions.
- Inactive plans remain available for existing subscription history but should not be assigned to new clinics.
4. Payments And Income Report
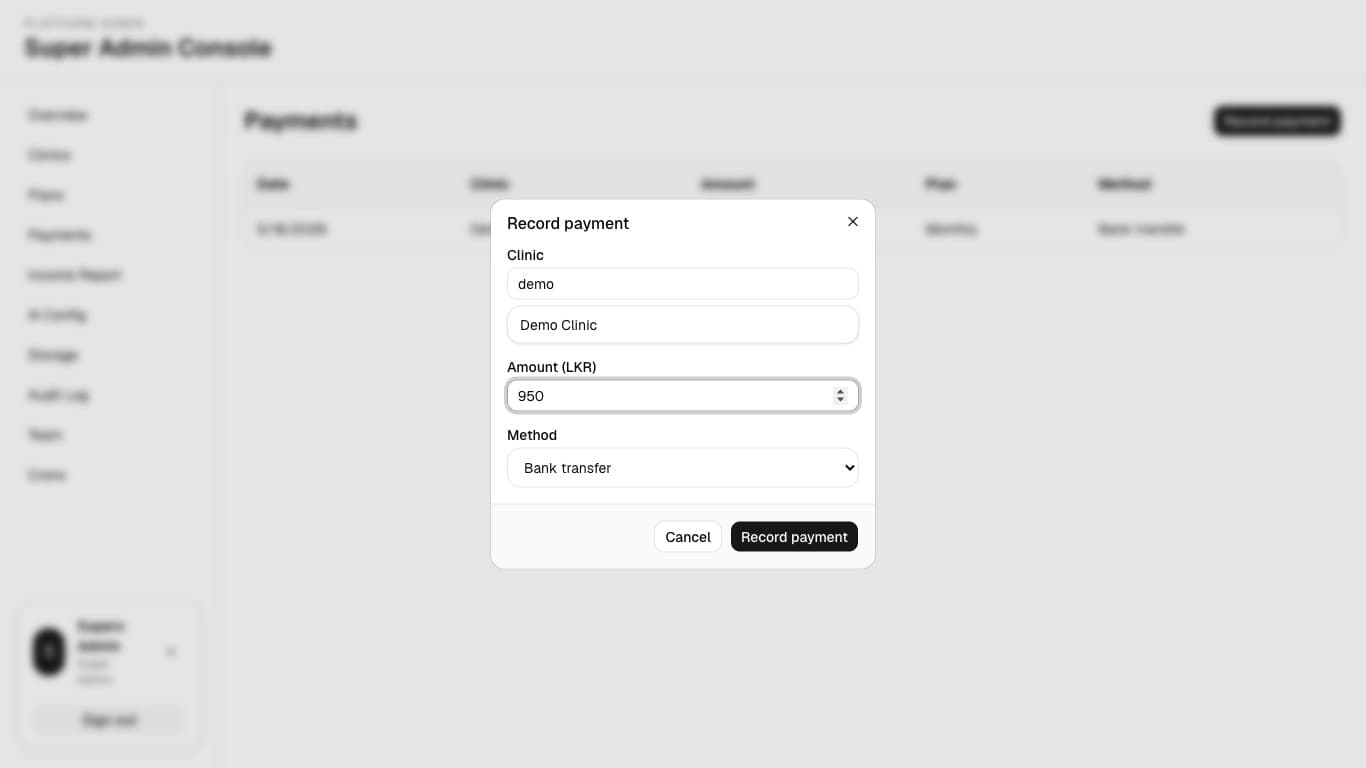
4.1 Review Payments
Action: Open Payments to review recorded payment rows and use the Record payment dialog when entering a payment outside a clinic detail page.
What to check:
- Confirm clinic, amount, method, paid date, and reference before saving.
- Use notes for billing context only.
- After saving, confirm the new payment appears in the table.

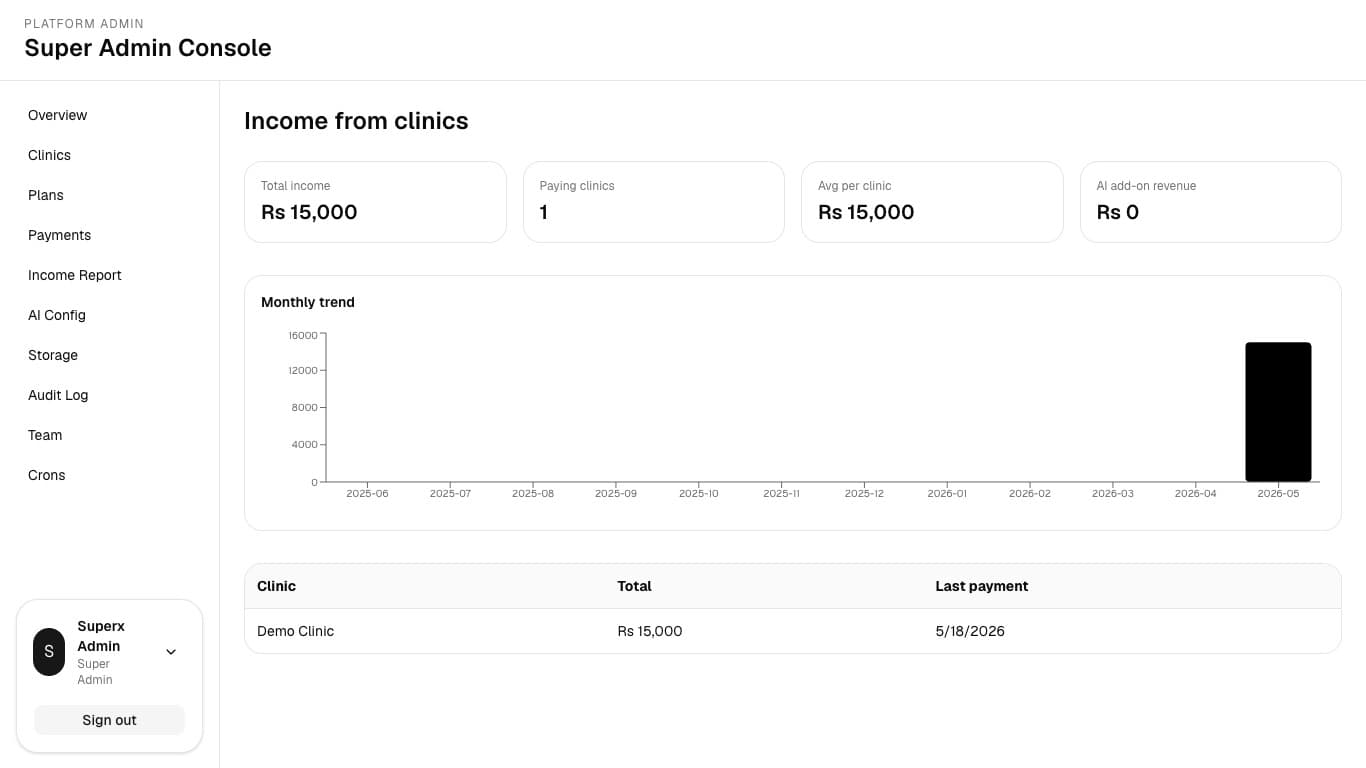
4.2 Read Income KPIs And Charts
Action: Open Income Report to review monthly income, average payment, total payments, monthly trend, and method breakdown.
What to check:
- Compare KPI totals with the payment table when reconciling.
- Use the chart to spot unusual drops or spikes.
- Investigate unexpected values in Payments before changing plans or clinic subscriptions.
5. AI Config
Action: Open AI Config to set the global default provider, model, and API key used when a clinic does not have an override.
What to check:
- Provider and model should match the approved platform AI vendor setup.
- Leave API key blank to keep the existing key.
- After changing provider or model, test AI suggestions in a non-production clinic before broad rollout.

6. Storage
Action: Open Storage to choose local file storage or S3-compatible storage and manage region, bucket, endpoint, and credentials.
What to check:
- S3-compatible storage is for object storage such as AWS S3 or MinIO.
- Local storage is useful for development or controlled local deployments.
- Provider changes affect new uploads only; existing files stay on their original backend until migrated manually.
- Leave secret fields blank to keep existing credentials.

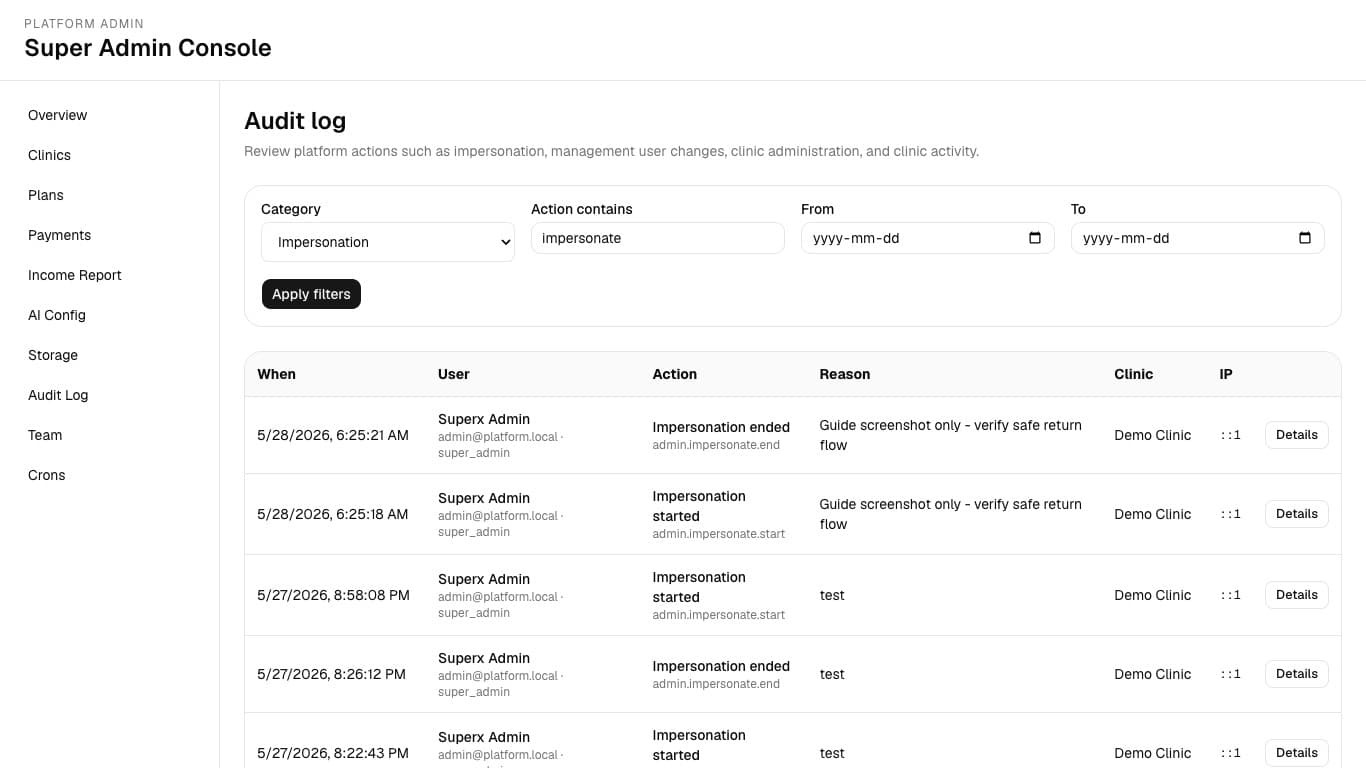
7. Audit Log
Action: Open Audit Log to filter events by category, action text, and date range. Use Details to inspect event context and impersonation reasons.
What to check:
- Use Category = Impersonation when reviewing support access.
- Use Action contains for targeted reviews such as impersonate, payment, plan, or user.
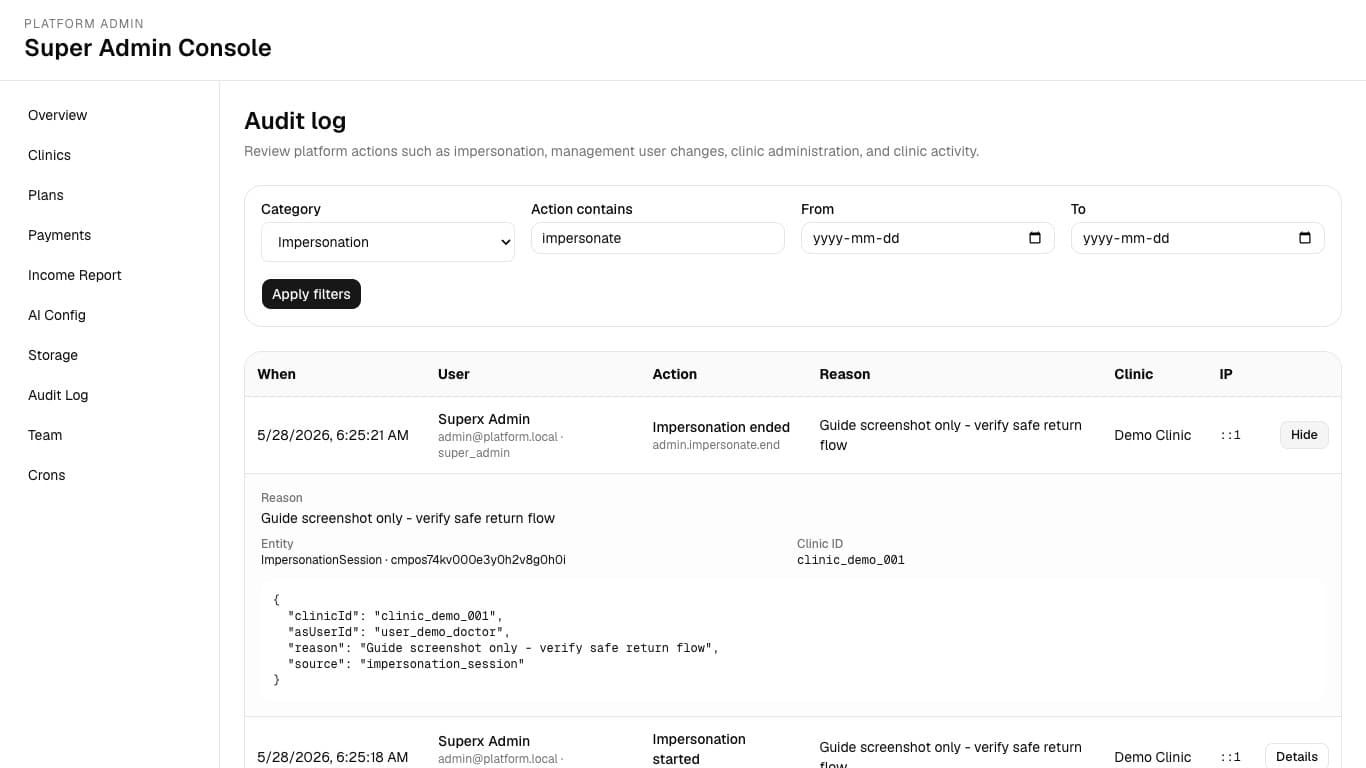
- Open Details to see reason, entity, clinic ID, and JSON metadata for the event.
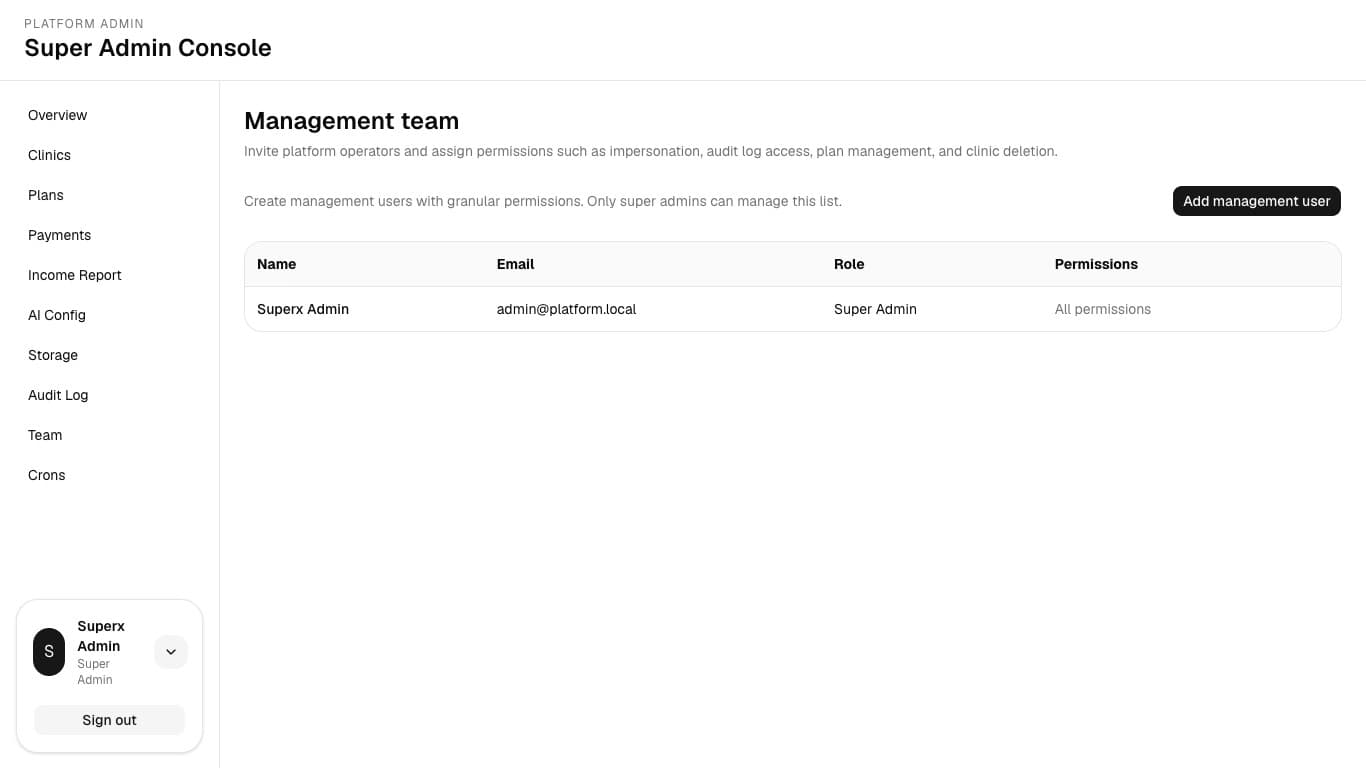
8. Team
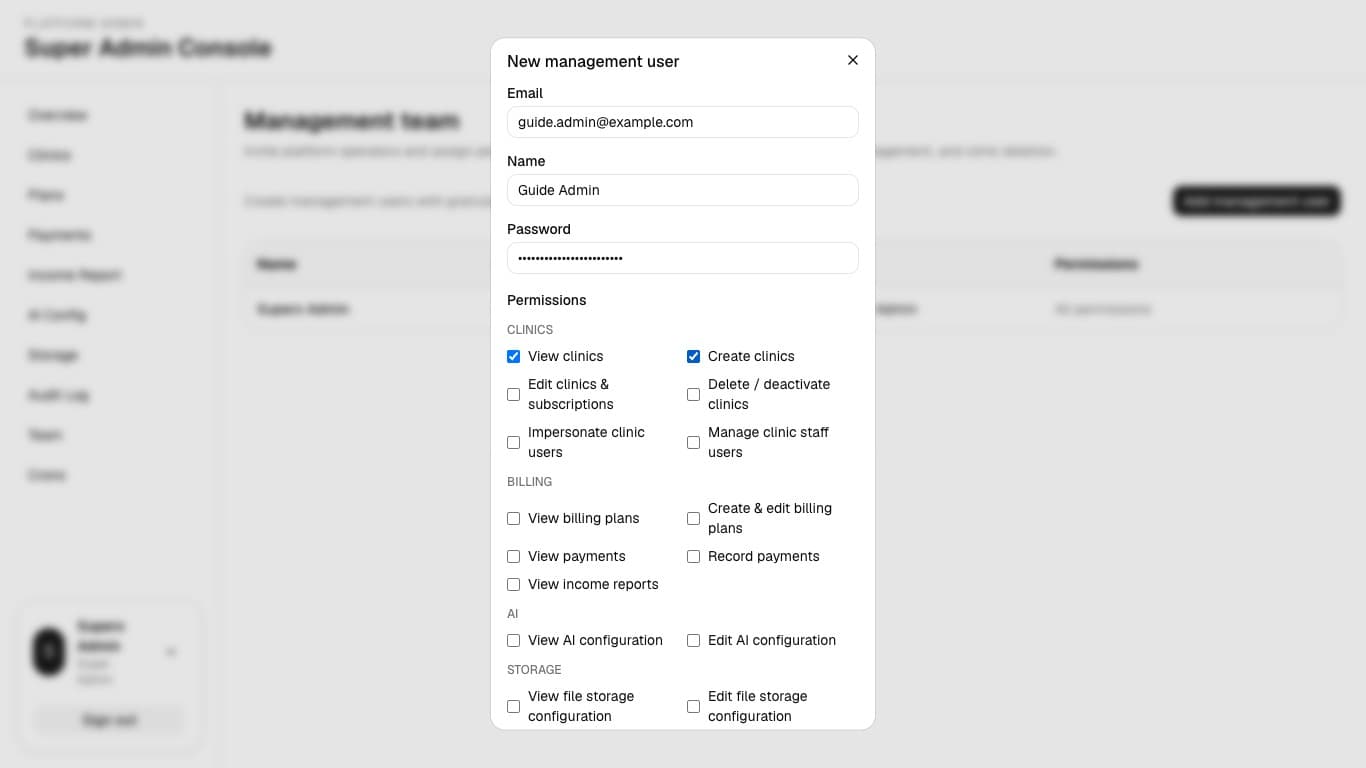
Action: Open Team to add, edit, or deactivate platform management users. Assign only the granular permissions the person needs.
What to check:
- Super admins have all permissions and cannot be edited from the normal management-user controls.
- Management users can be given permissions for clinics, billing, AI, storage, audit log, team, and crons.
- Editing a user can update name, optional password, and permissions.
- Deactivate users who should no longer access the management console.
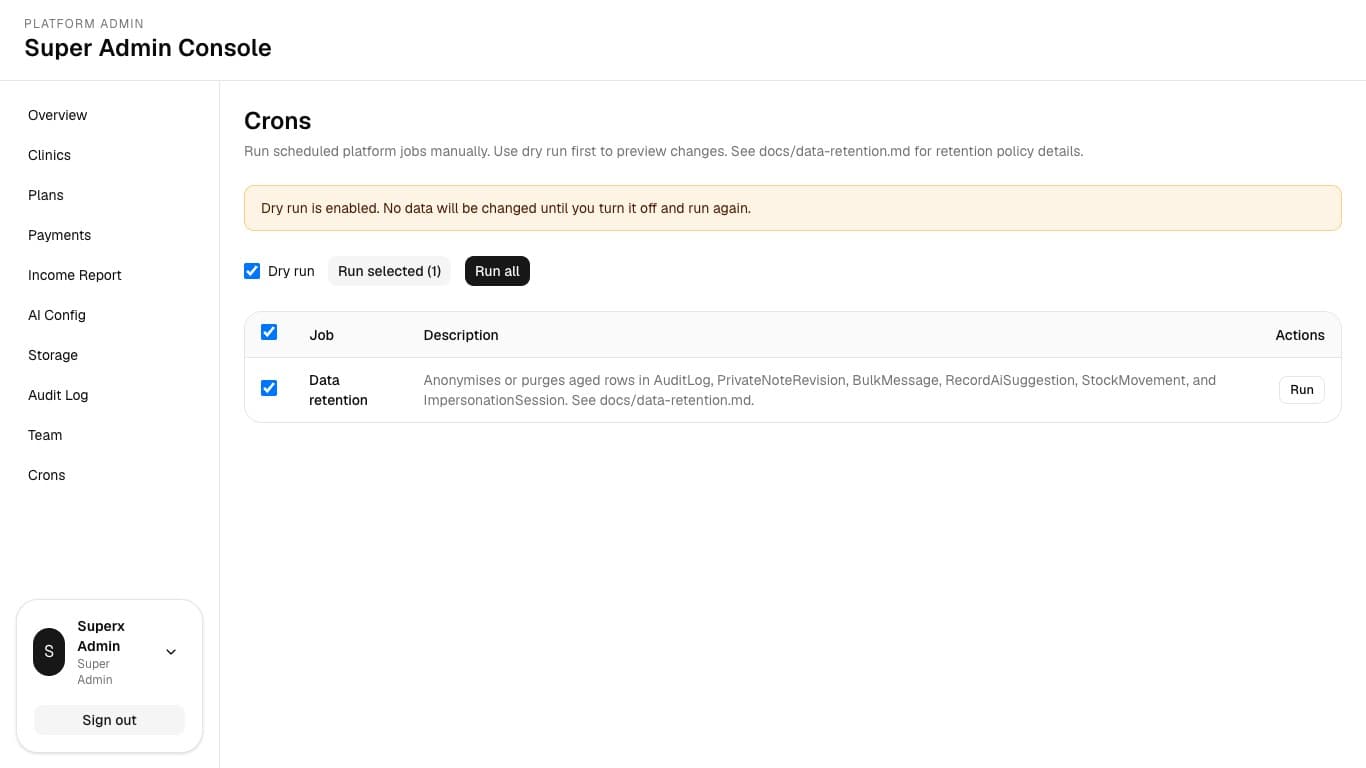
9. Crons
Action: Open Crons to review scheduled maintenance jobs. Keep Dry run enabled first, select jobs, then run selected or run all.
What to check:
- Dry run is enabled by default and does not change data.
- Use row checkboxes to choose a subset before running selected jobs.
- Review Last run results for success/failure, duration, and retention report counts.
- Turn off Dry run only after the dry-run results match the expected outcome.
10. End Impersonation And Return Safely
Action: When impersonating, use the top banner Exit impersonation control. Confirm you return to the Super Admin Console before starting another admin task.
What to check:
- The clinic workspace should show the impersonation banner while active.
- After exit, the URL should return to /admin and the account card should show the super-admin identity again.
- Review the Audit Log if you need to confirm the impersonation start/end reason.

Admin Safety Rules
- Impersonation requires a reason and should be used only for support or administrative tasks.
- Storage and AI keys must never appear in screenshots, shared documents, tickets, or chat messages.
- Cron jobs should be run in dry-run mode first; real runs should happen only after reviewing expected impact.
- Deactivation blocks access but preserves records where the app keeps them for audit, billing, and reporting.
- Grant management-user permissions by least privilege, especially impersonation, storage, AI, team, and crons.
- Use internal notes for admin context only. Do not place patient clinical information in platform billing or subscription notes.
- Before a destructive or access-changing action, verify the clinic or user name twice and capture the reason in the appropriate field.